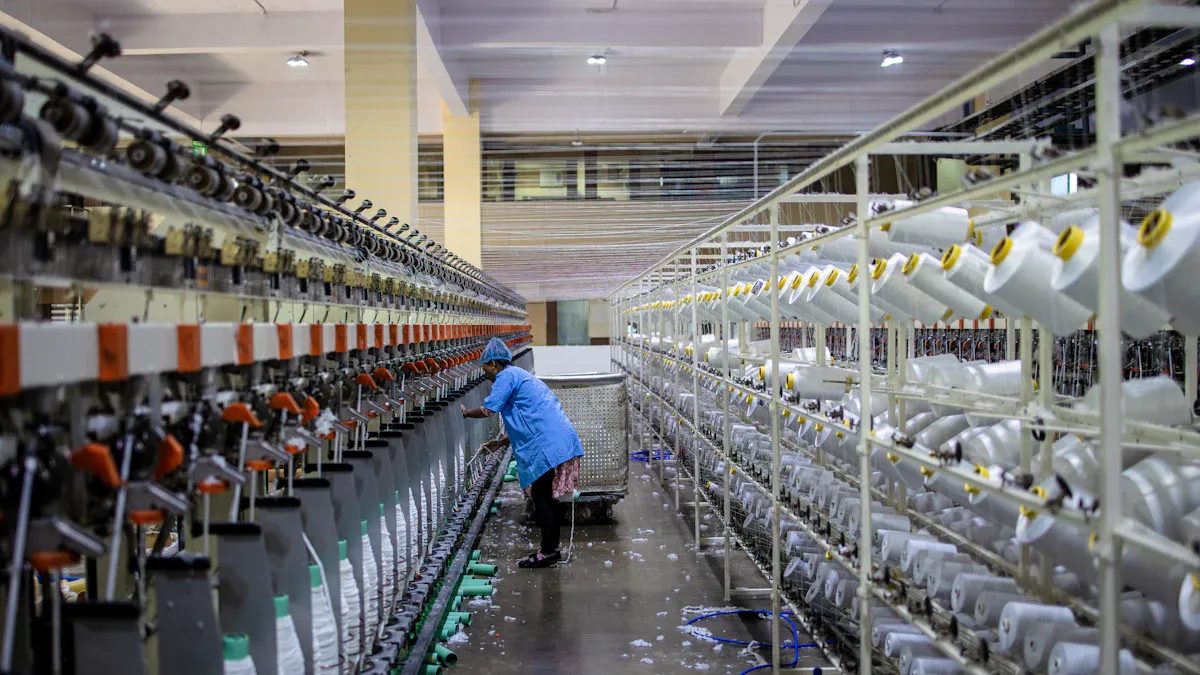
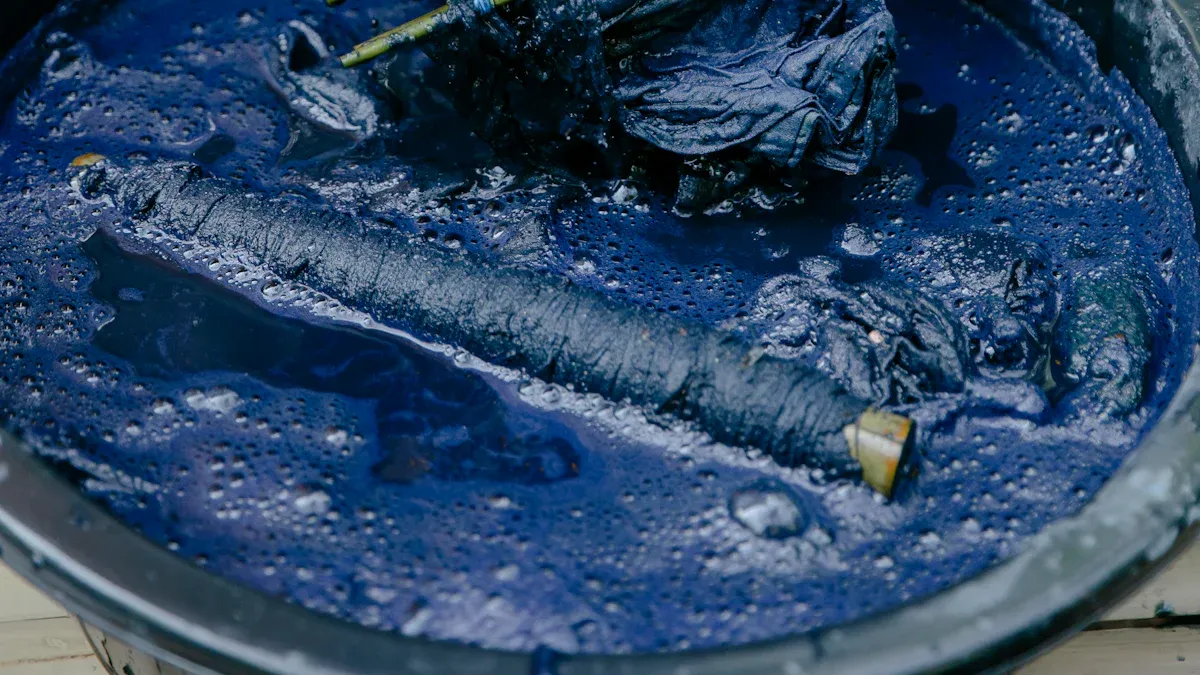
You can achieve deep, uniform color in textiles through a precise process. A yarn dyeing machine executes this process in three core stages: pretreatment, dyeing, and after-treatment. It forces dye liquor through yarn packages under controlled temperature and pressure.
Key Takeaways
● Yarn dyeing has three main steps: pretreatment, dyeing, and after-treatment. Each step is important for good color.
● The yarn dyeing machine uses special parts like a pump and heat exchanger. These parts help dye the yarn evenly and at the right temperature.
● After dyeing, the yarn is rinsed and treated. This makes sure the color stays bright and strong for a long time.
Stage 1: Pretreatment
You must properly prepare your yarn before it enters the dyeing cycle. This pretreatment stage ensures the yarn is clean, absorbent, and ready for uniform color absorption. It involves three critical steps.
Yarn Winding
First, you wind the raw yarn from hanks or cones onto special perforated packages. This process, called soft winding, creates a package with a specific density. You must control this density carefully. Incorrect winding can cause channeling, where dye flows unevenly and results in shade differences. For cotton yarn, you should target a package density between 0.36 and 0.40 gm/cm³. Polyester yarns require a firmer package, with a density higher than 0.40 gm/cm³.
Loading the Carrier
Next, you load these wound packages onto a carrier. This carrier is a spindle-like frame that holds the yarn securely inside the yarn dyeing machine. The carrier's design allows dye liquor to flow evenly through every package. Industrial machines have a wide range of capacities to handle different batch sizes.
Carrier Capacities:
● Small sample machines can hold as little as 10 kg.
● Medium-sized machines often have capacities of 200 kg to 750 kg.
● Large-scale production machines can process over 1500 kg in a single batch.
Scouring and Bleaching
Finally, you perform scouring and bleaching inside the sealed machine. Scouring uses alkaline chemicals to remove natural waxes, oils, and dirt from the fibers.
● A common scouring agent is Sodium Hydroxide (NaOH).
● Concentrations typically range from 3-6% to effectively clean the yarn.
After scouring, you bleach the yarn, usually with hydrogen peroxide. This step creates a uniform white base, which is essential for achieving bright and accurate colors. You achieve optimal bleaching by heating the bath to 95-100°C and holding it for 60 to 90 minutes.
Understanding the Yarn Dyeing Machine's Role

After pretreatment, you rely on the yarn dyeing machine to create the perfect color. The machine is more than just a container; it is a sophisticated system designed for precision. Understanding its core functions helps you appreciate how it achieves consistent, high-quality results.
Key Machine Components
You should know the three main components that work together during the dyeing process. Each part has a specific and vital function.
| Component | Function |
|---|---|
| Kier (Dyeing Vessel) | This is the main pressure-tight container. It holds your yarn packages and the dye solution at high temperatures and pressures. |
| Heat Exchanger | This unit controls the dye bath temperature. It manages both heating and cooling to follow the dyeing recipe precisely. |
| Circulation Pump | This powerful pump moves the dye liquor through the yarn. It ensures every fiber receives uniform color. |
The Importance of Circulation
You must achieve uniform dye circulation for even color. The circulation pump forces the dye liquor through the yarn packages at a specific flow rate. This rate is a key factor in preventing shade variations. Different machines operate at different speeds.
| Machine Type | Flow Rate (L kg⁻¹ min⁻¹) |
|---|---|
| Conventional | 30–45 |
| Rapid Dyeing | 50–150 |
Temperature and Pressure Systems
You need precise control over temperature and pressure, especially for synthetic fibers like polyester. High-temperature machines typically operate up to 140°C and ≤0.4Mpa of pressure. These conditions help the dye penetrate dense fibers. Modern machines use automated systems to manage these variables perfectly.
Benefits of Automation:
● Automation uses sensors and PLCs (Programmable Logic Controllers) to follow temperature curves exactly.
● It reduces human error, ensuring every batch is dyed with high repeatability.
● This process control leads to stable conditions, even color uptake, and superior product quality.
Stage 2: The Dyeing Cycle

With your yarn pretreated, you are ready to begin the core dyeing cycle. This stage is where the color transformation happens inside the Yarn Dyeing Machine, requiring precise control over the dyebath, circulation, and temperature.
Preparing the Dyebath
First, you prepare the dyebath. You fill the machine with water and add dyes and auxiliary chemicals based on your recipe. You must also set the liquor-to-material ratio (L:R). This ratio, often set at a value like 1:8, dictates the volume of water for every kilogram of yarn. For polyester, you add specific chemicals to the mix:
● Dispersing Agents: These keep the dye particles evenly distributed in the water.
● Leveling Agents: These complex formulations ensure the dye absorbs uniformly onto the yarn, preventing patches or streaks.
Dye Liquor Circulation
Next, you begin circulating the dye liquor. Before heating, you run the main pump to thoroughly mix the dyes and chemicals. This initial circulation ensures that when the dye liquor starts flowing through the yarn packages, it has a consistent concentration from the very beginning. This step helps prevent initial color variations.
Reaching Dyeing Temperature
You then start the heating process. The machine's heat exchanger raises the dyebath temperature according to a programmed gradient. For polyester, this often means reaching a peak temperature of around 130°C. You hold this peak temperature for 45 to 60 minutes. This holding period is vital for the dye to fully set and penetrate the fibers, completing the dyeing process effectively.
Adding Fixing Agents
Finally, you add fixing agents to lock the color in place. These chemicals create a strong bond between the dye and the yarn fiber. The type of agent depends on the dye and fiber, with some formulations including vinylamine structural units for reactive dyes.
pH is Critical for Fixation You must precisely control the dyebath's pH during this step. For reactive dyes, a pH between 10 and 11 is ideal. Even small changes can ruin the result. If the pH is too low, fixation will be poor. If it is too high, the dye will hydrolyze and wash away, leading to weak color.
Stage 3: After-Treatment
After the dyeing cycle, you must perform after-treatment. This final stage in the Yarn Dyeing Machine ensures your yarn has excellent colorfastness, a good feel, and is ready for production.
Rinsing and Neutralizing
First, you rinse the yarn to remove residual chemicals and unfixed dye. After rinsing, you neutralize the yarn. The dyeing process often leaves the yarn in an alkaline state. You must correct the pH to prevent fiber damage and color discoloration.
● You can use acetic acid to restore the yarn to a neutral or slightly acidic pH.
● Specialized agents like Neutra NV also provide excellent core neutralization after alkaline treatments. This step returns the fabric to a soft, stable state.
Soaping for Colorfastness
Next, you perform a soaping wash. This crucial step removes any hydrolyzed or unreacted dye particles that are loosely attached to the fiber surface. If you do not remove these particles, they will bleed during later washing.
Why Soaping is Essential Soaping significantly improves wash fastness. It ensures the final product meets rigorous quality standards, such as the ISO 105-C06 test method, which measures color resistance to laundering.
Applying Finishing Agents
You then apply finishing agents. These chemicals improve the yarn's performance for subsequent processes like weaving or knitting. Lubricants are common finishing agents that give the yarn good gliding properties. This finish reduces friction and prevents the stick-slip effect, which minimizes thread breakages and machine downtime. Sizing agents can also be applied to increase yarn strength and wear resistance.
Unloading and Drying
Finally, you unload the yarn packages from the carrier. You then dry the yarn to achieve the correct moisture content. The most common method is radio-frequency (RF) drying, which uses electromagnetic energy to dry the packages evenly from the inside out. Once dry, the yarn is ready for winding and shipping.
You now understand the yarn dyeing process is a precise, multi-stage operation. Your success hinges on controlling variables to meet key metrics like color matching accuracy. This systematic approach, often using water-saving innovations, is crucial for you to achieve consistent, high-quality, and colorfast yarn for textile production.
FAQ
What is the main advantage of yarn dyeing?
You achieve superior color penetration and fastness. Dyeing yarn before weaving creates richer, more durable patterns compared to dyeing finished fabric.
Why is the liquor-to-material ratio (L:R) important?
You must control the L:R for consistent results. It affects dye concentration, chemical usage, and energy consumption, directly impacting color consistency and process efficiency.
Why do you need high pressure for dyeing polyester?
You use high pressure to raise the water's boiling point. This allows the dye to penetrate polyester's dense fiber structure for deep, even color.
Post time: Oct-24-2025
